
This guide explains how to create WooCommerce REST API credentials and enter them in AtomicSeller.
Before you begin #
- Make sure you have administrator access to WordPress and WooCommerce.
- Use HTTPS and a WordPress permalink structure other than Plain.
- Make sure you can manage stores in AtomicSeller.
Create the API credentials in WooCommerce #
Step 1 — Open the REST API settings #
In WordPress, go to WooCommerce > Settings > Advanced > REST API, then select Add key.

Step 2 — Generate a key #
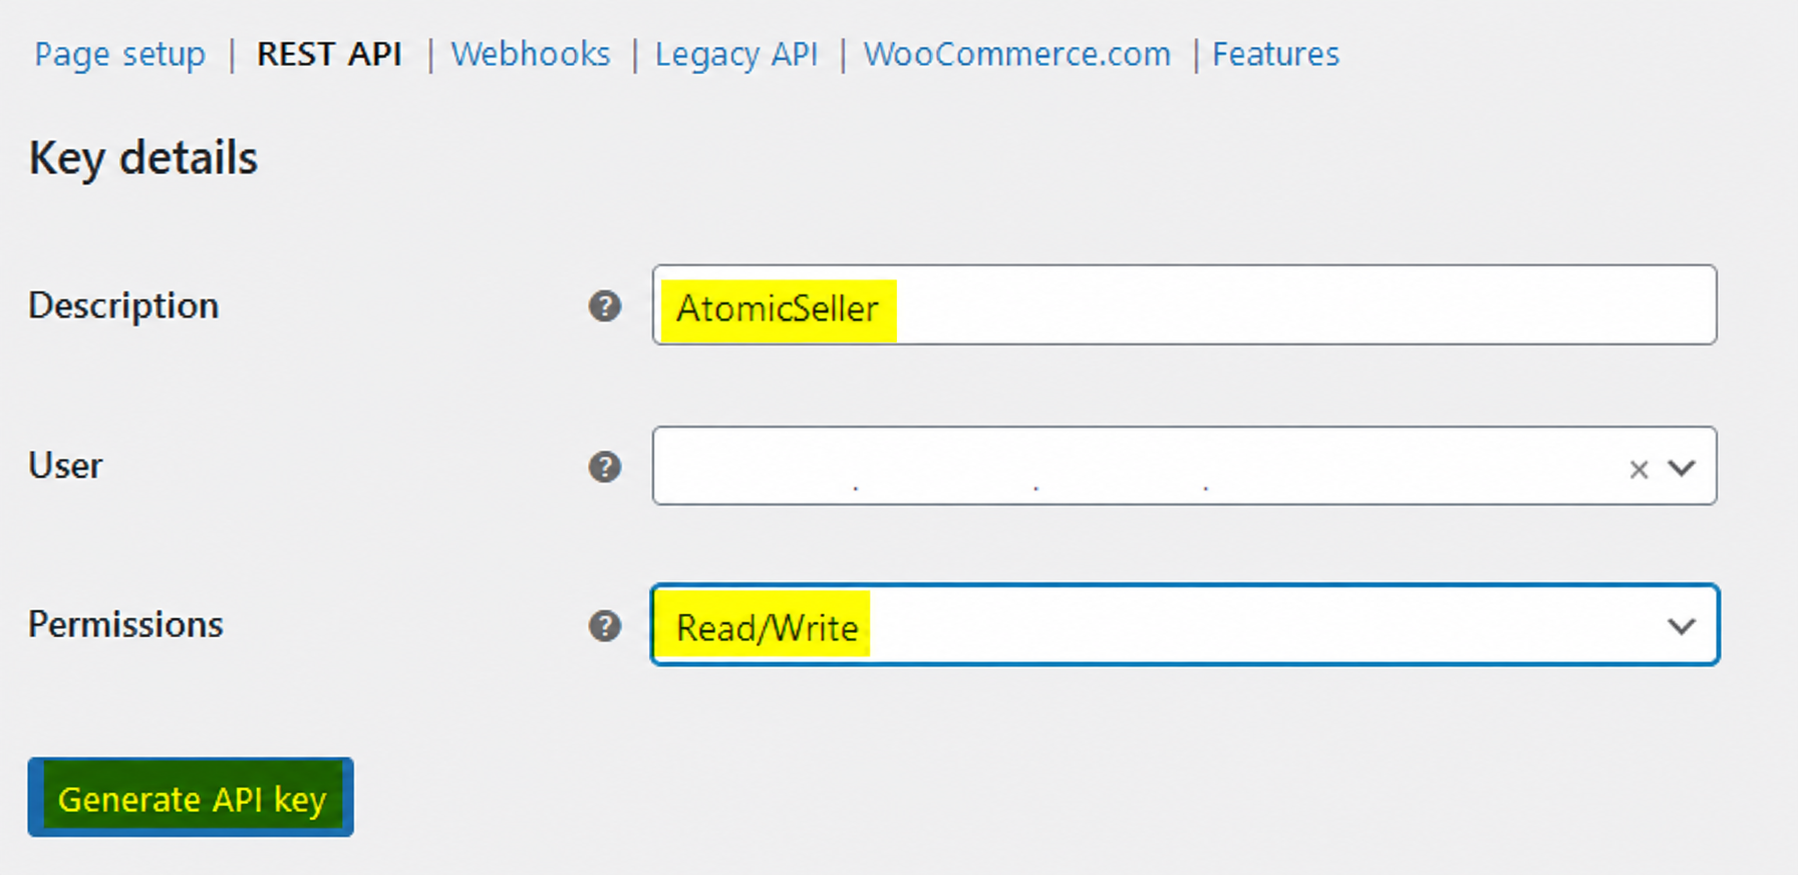
Enter a description such as AtomicSeller, choose the WordPress user, and set Read/Write permissions. Then select Generate API key.
Step 3 — Copy the credentials #
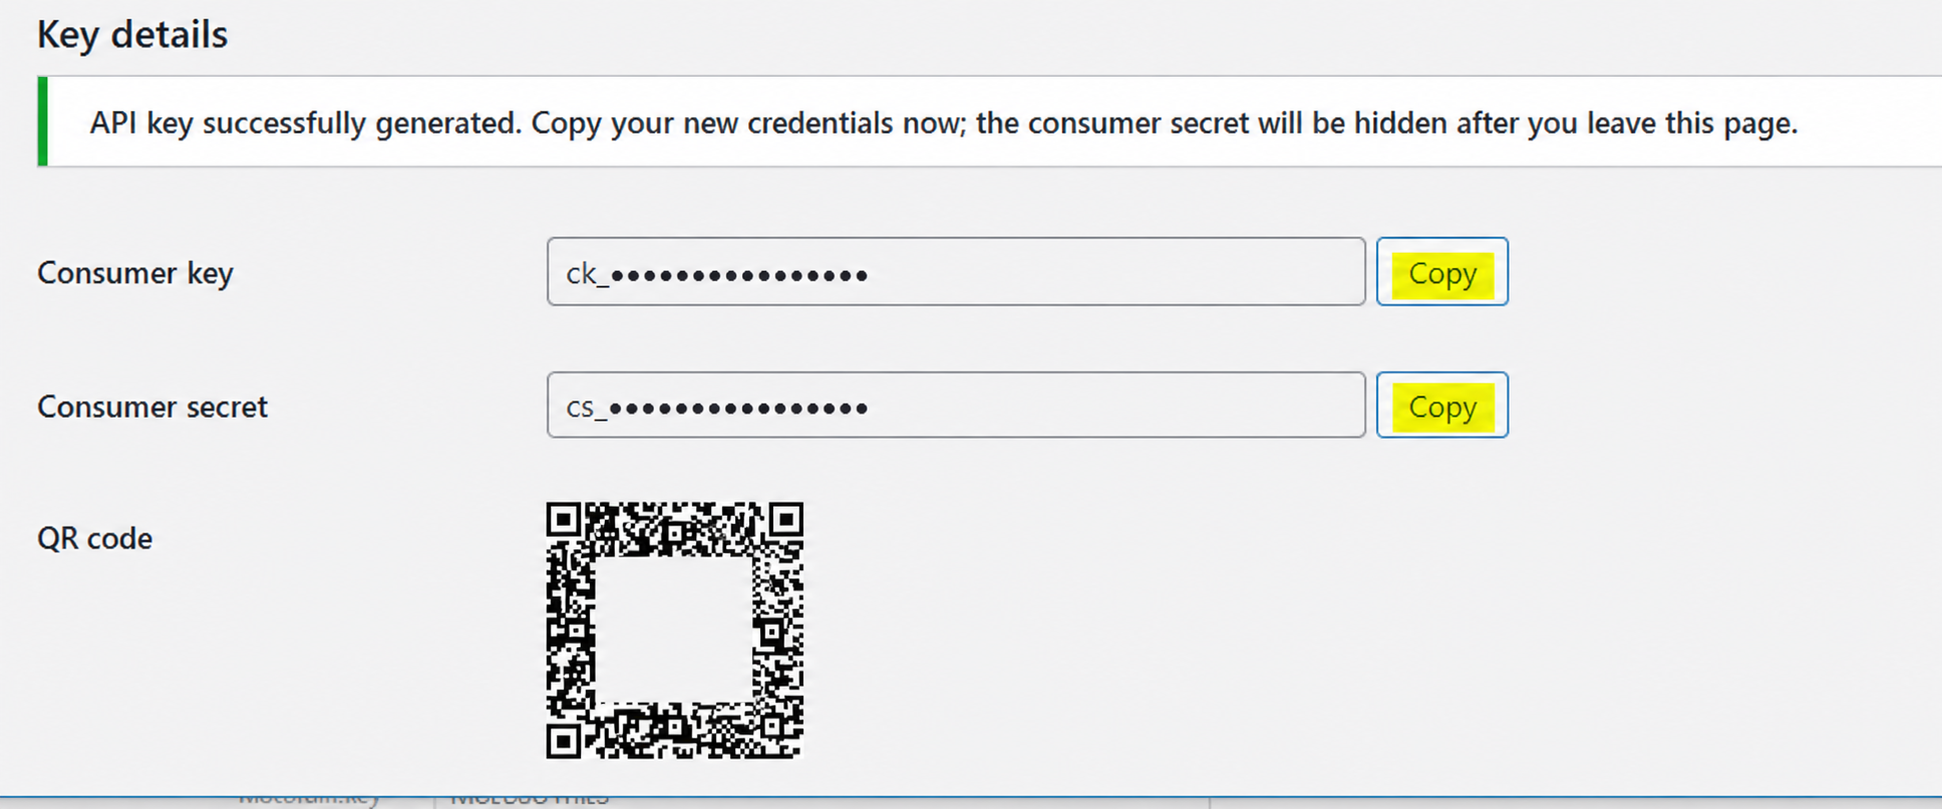
Copy the Consumer key and Consumer secret immediately. The secret is displayed only once. Store both values securely and never include them in support requests or screenshots.
Configure AtomicSeller #
Step 4 — Enter the store settings #
In AtomicSeller, open Stores, then add or edit your WooCommerce store. Complete the following fields:
- Store name: the name displayed in AtomicSeller.
- Store key: the unique identifier used by AtomicSeller web services.
- Merchant key: optional, unless your account uses several merchants.
- Store API URL: the HTTPS address of the store root, without
/wp-json. - Key: the WooCommerce Consumer key.
- Secret: the WooCommerce Consumer secret.

Select Save, then Check connection. A successful setup returns Connection OK.
Troubleshooting #
- 401 or 403 error: check the Consumer key and secret, the associated WordPress user, the Read/Write permission, and any firewall or security plugin that may block the WooCommerce REST API.
- 404 error: in WordPress, go to Settings > Permalinks, select a structure other than Plain, and save the settings again.
- Certificate or connection error: confirm that the store URL uses HTTPS and that its certificate is valid.
For additional technical details, see the official WooCommerce REST API documentation.